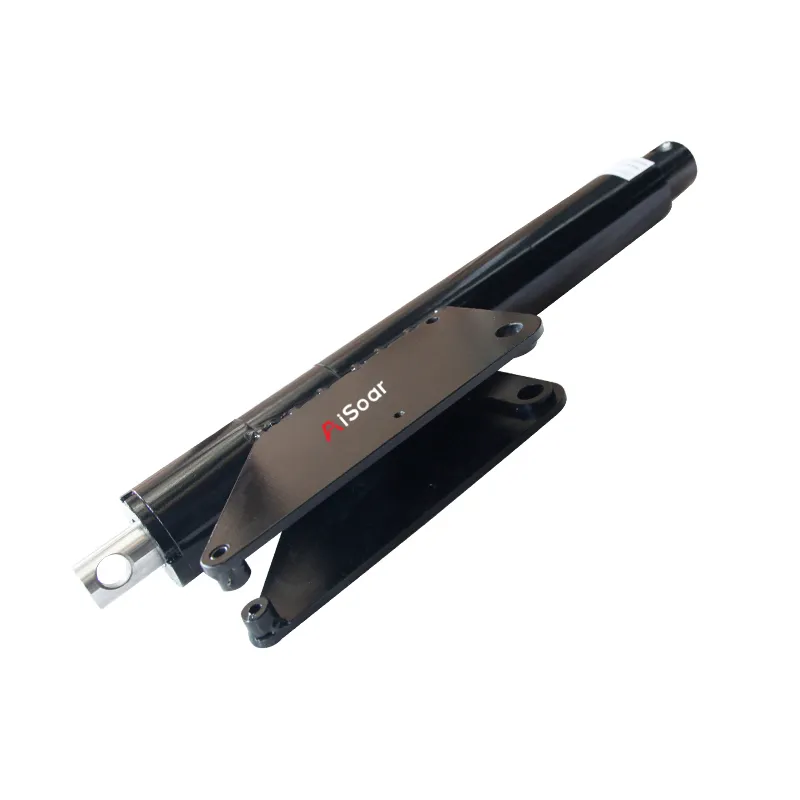
“Let’s be honest, when you hear “how to disassemble a hydraulic cylinder,” you’re not expecting excitement. But, give it a chance! Removing a cylinder gland can be just as satisfying as popping bubble wrap—provided you don’t end up with oil on your shoes (again). Today, we’re diving into the gland of a hydraulic cylinder, one step at a time, minus the mess and confusion. Ready?”
Real-World Lesson: A Costly Mistake When Removing a Cylinder Gland
One of the best ways to learn is from mistakes—especially someone else’s. Here’s a true story highlighting just how dangerous improper hydraulic cylinder gland removal can be.
A maintenance supervisor and his mechanic were attempting to disassemble a large hydraulic cylinder. After removing the retaining ring, they found the gland assembly stuck inside the cylinder tube. Manual force—and even a forklift—didn’t budge it.
They decided to use 100 psi of compressed air via the cylinder’s cap-end port, hoping the pressure would push out the rod & gland assembly. When that didn’t work, they heated the cylinder barrel with an acetylene torch to expand the metal. Suddenly, the gland assembly blasted out with an explosive force, showering both men in hydraulic oil and flames. One suffered severe burns and a leg injury; the other had major burns and fractures.
What went wrong? The heat increased internal pressure far beyond safe levels, and it ignited residual oil inside the cylinder when exposed to open flame. Unfortunately, this risky removal method is common in the industry, despite the dangers.
How could this have been prevented?
With proper training and the right tools. Service instructions should clearly warn against using compressed air or heat, and emphasize safe removal techniques for cylinder gland assemblies.
The takeaway: always follow correct procedures and never cut safety corners when learning how to disassemble a hydraulic cylinder or remove a gland cylinder.
Have You Met the Cylinder Gland Yet?
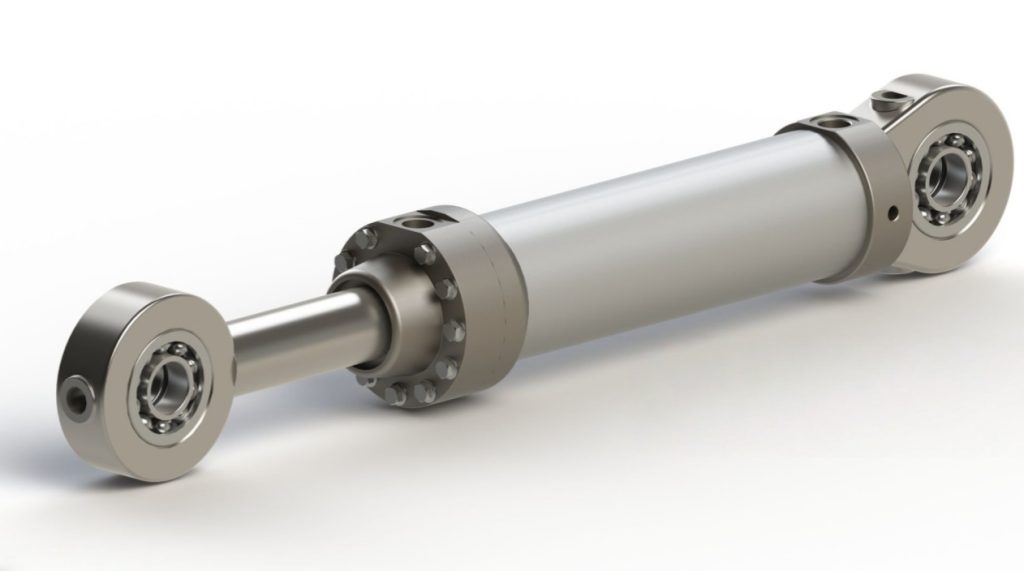
Let’s be real. Nobody rolls into the workshop on a sunny morning and shouts, “Today I want to disassemble a hydraulic cylinder for fun!” No, sir. But sometimes, life—or more accurately, a persistent oil leak—forces you to cozy up to the legendary cylinder gland. Whether you call it the hydraulic cylinder gland, the gland cylinder, or “that stubborn piece at the end,” it deserves respect. And maybe a bit of patience.
Today, I’ll be your tour guide through the steamy jungles of cylinder disassembly. Ready your wrenches, put on your best safety glasses, and let’s make sure your hands—and pride—stay intact.
Step 1: Prep Like a Pro, Not a Hero
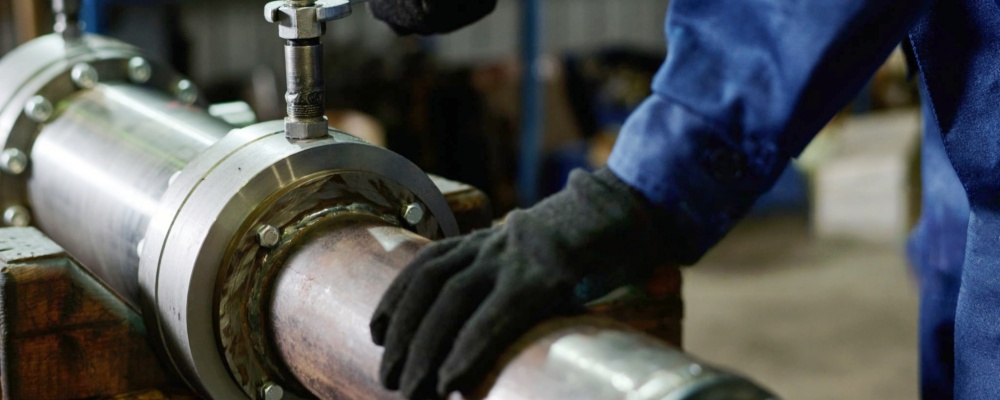
First things first: Safety isn’t just a suggestion—it’s mandatory. Picture a mechanic skipping safety gear and you’ll know why hydraulic oil shampoo isn’t trending on TikTok.
What you’ll need:
- Wrenches and socket set (the trusty sidekicks)
- Snap ring pliers
- Clean cloth
- Container for drained oil
- Hydraulic cylinder diagram (cheat sheets are underrated)
- Protective gloves and safety glasses
- Bonus: A healthy dose of optimism
Pro tip: If your wrench is rusty or your gloves have holes, congratulations, you’ve just become the workshop’s cautionary tale. Upgrade!
Step 2: Release the Pressure (So You Don’t Explode)
Think of hydraulic pressure like a shaken soda can—open it wrong and things get messy. Double-check that all pressure has bled off before going anywhere near the cylinder gland. This is how you avoid turning “how to disassemble a hydraulic cylinder” into your mid-life crisis.
- Disconnect the cylinder from the system.
- Gradually release pressure; catch any stray oil in your container (or your friend’s old lunchbox—just kidding, use a proper container).
- Wipe the cylinder with your clean cloth so you don’t slip and do the “hydraulic tango.”
Step 3: The Hunt for the Gland Cylinder
Here’s where the magic happens.
Locate the cylinder gland—the part glaring at you from the end of the cylinder. Grab your snap ring pliers and start removing the retaining ring or bolts. If you’re sweating, don’t worry; you’re not alone.
Trickiest bit: Sometimes, the gland is stuck tighter than your favorite jar of pickles. Gentle taps, some wiggling, and polite words (read: not swearing at the cylinder) usually do the trick.
Step 4: Slide it Out—Easy Now!
With the snap ring or bolts gone, slowly work the hydraulic cylinder gland out. It might not want to go home with you. If it resists, walk away for a coffee—sometimes, a break is all it needs.
Remember:
- Don’t scratch the rod or gland.
- Take note of seal orientation (draw a quick pic or take a phone snap).
- If anything falls on the floor, that’s its new home now. (Kidding! Clean and reinstall or replace.)
Step 5: Celebrate, but Don’t Forget the Details
Pulling the gland cylinder out is a little like finishing a jigsaw puzzle: satisfying, and you only scream a little along the way.
Take stock:
- Inspect the seals for wear.
- Check the cylinder rod and gland for damage.
- Wipe everything down.
Before reassembly, ask yourself: “Have I taken a picture for proof? Will anyone believe how clean I kept my workspace?”
Common Mistakes (And How to Avoid Becoming a Meme)
Forgetting to release the pressure. Always double check!
Using a hammer instead of pliers. Your cylinder—and your wallet—will not forgive you.
Mixing up the order of the seals. Pro tip: Take pictures, or ask your phone’s voice assistant to remind you.
Not wearing gloves. Ever had hydraulic oil under your fingernails? You don’t want to.
Conclusion
Disassembling a hydraulic cylinder and removing the notorious gland cylinder isn’t rocket science. But it can turn into a hilarious story if you skip the safety steps. Follow these simple tips, keep it light, and maybe next time you’ll actually look forward to the task—if not, you’ll at least have the cleanest gloves in the shop.